Customising forms – Toolbar
This post is also available in: Bahasa Malaysia Bahasa Indonesia
To start with, let’s get familiarised with the toolbar.
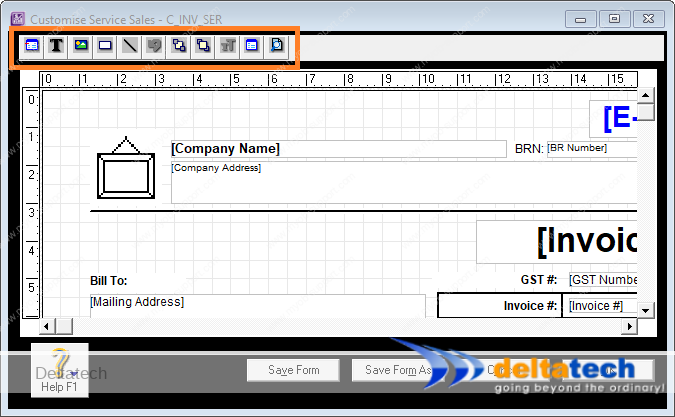
When you select a form to customise, you will find the toolbar at the top of the screen.
The toolbar allows you to add fields, images, as well as draw lines and rectangles as required.
The first button allows you to add either data fields or columns to the form.
Data fields and columns are used to display the data that you enter.
For example, the date you enter in the Enter Sales screen is a data field.
Whereas, the details you enter such as item number, unit price, etc are data columns.
This button is to add a description on the form.
If you wanted to add a field named “Invoice to:”, then you would use the text field tool.
Sometimes, fields overlap, and you need to access the one field that was placed behind another.
Select the field that appears to be in front, and click the Send to back button, and you will be able to access the field that was behind.
To preview how the form looks, click on this button.
Note that in the preview, it will display sample data, not the actual data, but you will be able to see how the form looks when printed out.
